Unlock Silky Whipped Cream: Essential Tips & 3 Simple Ingredients
Nothing quite transforms a humble dessert into an extraordinary culinary experience like a generous dollop of fresh, homemade whipped cream. Forget the bland, often artificial taste of store-bought alternatives; once you discover how to make whipped cream from scratch, you'll wonder why you ever settled for less. This isn't just about a topping; it's about elevating every bite with a cloud-like texture and pure, unadulterated flavor that store-bought versions simply can't replicate.
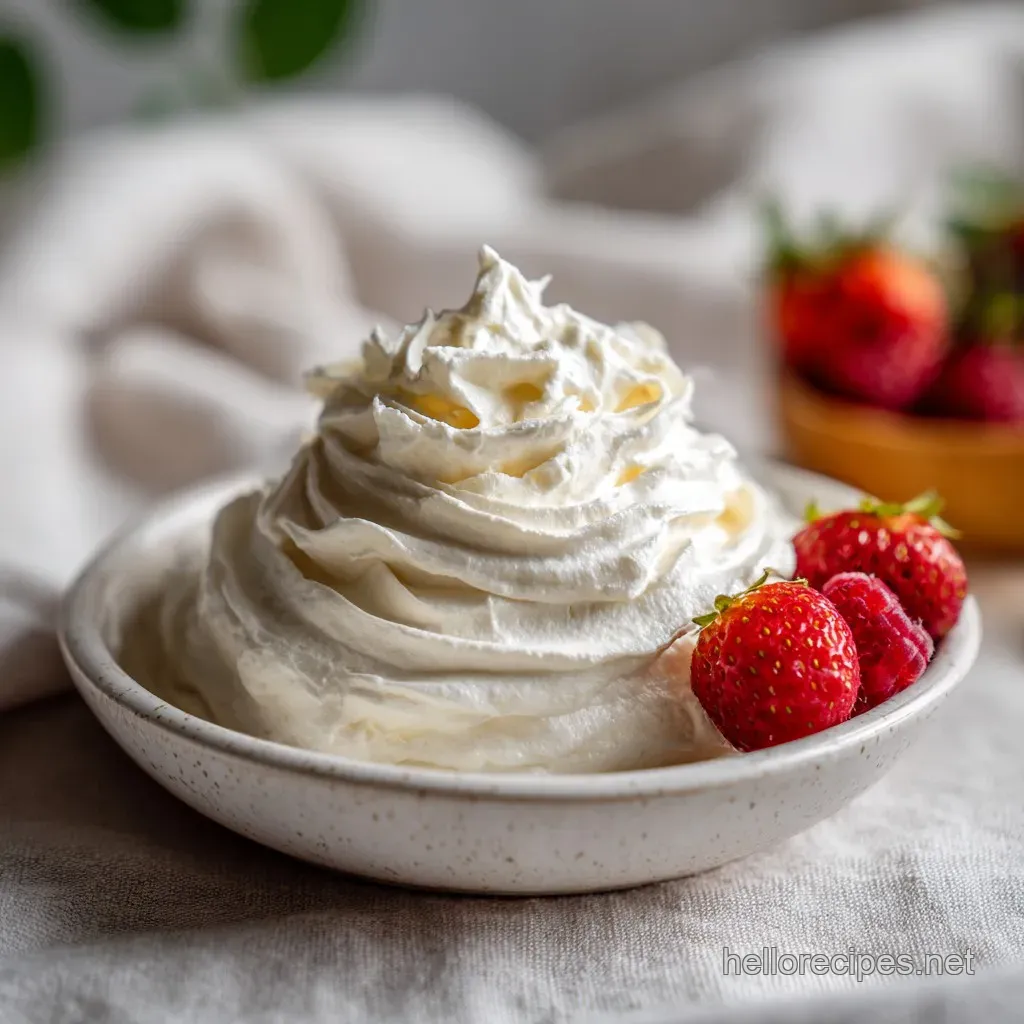
The beauty of homemade whipped cream lies in its surprising simplicity. With just three core ingredients and a few minutes of your time, you can achieve that dreamy, luxurious consistency that's perfect for pies, fruit tarts, hot chocolates, or even a simple bowl of berries. We're here to guide you through foolproof techniques, share insider tips to prevent over-whipping, and ensure you achieve that ideal, airy consistency every single time. Get ready to master a skill that will forever change your dessert game!
Why Homemade Whipped Cream Reigns Supreme
The choice between homemade and store-bought whipped cream isn't just about personal preference; it's a stark contrast in quality, taste, and health benefits. While convenient, the canned or tub varieties often contain a myriad of artificial flavors, preservatives, and unnecessary additives that detract from the natural richness of cream. When you embark on the journey of learning how to make whipped cream yourself, you unlock a world of advantages:
- Purity and Health: Homemade whipped cream contains only natural ingredients – heavy cream, a touch of sugar, and vanilla. There are no strange chemicals, hydrogenated oils, or artificial sweeteners. This makes it a healthier, tastier choice for you and your family.
- Unrivaled Taste and Texture: Imagine a silky, smooth, almost ethereal topping that melts delicately in your mouth, leaving behind a rich, creamy flavor. That's the hallmark of homemade whipped cream. It boasts a far superior depth of flavor and a luxurious, cloud-like texture that industrial products, with their often gummy or overly stiff consistency, simply cannot match.
- Customization at Your Fingertips: When you control the process, you control the outcome. Adjust the sweetness level to your preference, add a dash of liqueur, a hint of citrus zest, or even cocoa powder for endless flavor variations. This level of customization is impossible with pre-made options.
- Economical and Sustainable: Buying heavy cream and making your own is often more cost-effective than purchasing pre-whipped versions, especially if you enjoy whipped cream regularly. Plus, you reduce packaging waste.
Once you experience the decadent difference of real whipped cream, there's truly no turning back. It transforms ordinary desserts into extraordinary indulgences, proving that a little effort goes a very long way.
The Essential Trio: 3 Simple Ingredients for Perfection
Creating perfect whipped cream doesn't require an extensive shopping list. In fact, its magic comes from the harmonious interaction of just three fundamental ingredients. Understanding their role is key to mastering how to make whipped cream that's consistently light, airy, and full of flavor.
- Heavy Cream (or Heavy Whipping Cream)
This is the undisputed star of our show. For the best results, you'll need heavy cream with a fat content of 35-40%. This high-fat content is crucial because the fat molecules are what encapsulate air during the whipping process, creating the stable structure that allows whipped cream to hold its shape. Creams with lower fat percentages, like light cream or half-and-half, simply won't whip up properly or hold their form. Always ensure your heavy cream is thoroughly chilled before you start; cold cream whips up faster, more efficiently, and yields a much more stable end product.
- Granulated Sugar
Sugar serves two primary purposes in whipped cream: sweetness and stabilization. While it's tempting to think of it only for flavor, sugar granules actually interact with the cream's proteins, helping to strengthen the air bubbles and prevent the whipped cream from deflating too quickly. For a standard recipe, 2 tablespoons per cup of heavy cream provides a balanced sweetness without overpowering the rich cream flavor. For an even smoother texture, especially if you plan to pipe the whipped cream, consider using confectioners' sugar (powdered sugar), which contains a small amount of cornstarch that acts as an additional stabilizer and dissolves more readily, preventing any grainy texture.
- Pure Vanilla Extract
Vanilla extract is the flavor amplifier, adding a warm, aromatic depth that complements the richness of the cream beautifully. We strongly recommend using pure vanilla extract over artificial vanilla flavoring for a superior, more nuanced taste. A teaspoon per cup of heavy cream is generally perfect, but feel free to adjust to your preference. This simple addition elevates the overall profile, making your homemade whipped cream taste truly gourmet.
Your Toolkit for Cloud-Like Consistency: Essential Equipment
While the ingredients are few, having the right equipment makes all the difference in achieving that enviable cloud-like consistency when learning how to make whipped cream. Minimal fuss, maximum results:
- Electric Mixer (Hand or Stand Mixer)
This is your primary tool for incorporating air into the cream. An electric mixer, whether a handheld model or a stand mixer with the whisk attachment, is highly recommended for efficiency and ease. While you can whip cream by hand with a whisk, it requires significant arm strength and can take considerably longer. Electric mixers create the necessary air incorporation quickly and evenly, ensuring a consistent texture. A hand mixer is perfect for small to medium batches, while a stand mixer excels at larger quantities, allowing you to multitask.
- Large Mixing Bowl
Choose a bowl that provides ample space for the cream to expand. Remember, whipped cream will roughly double in volume! A large bowl also helps contain splashes. Materials matter: stainless steel or glass bowls are preferred over plastic because they retain cold temperatures better, which is crucial for successful whipping. Plastic bowls can also retain residual oils, which might hinder the whipping process.
- Measuring Cups and Spoons
Accuracy is key for consistent results. Using standard measuring tools ensures you maintain the proper ratios between ingredients, especially sugar, to achieve the perfect balance of sweetness and stability.
- Chilled Bowl and Beaters (The Secret Weapon)
This "optional" step is so effective, we consider it almost mandatory for foolproof results, especially in warmer environments. Placing your mixing bowl and the beaters (or whisk attachment) in the refrigerator or even the freezer for 15-20 minutes before whipping makes a significant difference. The cold surfaces help keep the heavy cream at an optimal temperature, allowing the fat molecules to emulsify and hold air more effectively, resulting in a quicker whip and a more stable, higher-volume whipped cream.
Step-by-Step Guide: How to Make Whipped Cream Flawlessly
Now that your ingredients are chilled and your equipment is ready, let's walk through the simple, yet precise, steps to create perfect homemade whipped cream. This process typically takes just 5-7 minutes, showcasing just how effortless it is to master how to make whipped cream that outshines any store-bought alternative. For an even quicker process, refer to our guide on Easy 5-Minute Homemade Whipped Cream: Outshine Store-Bought Every Time.
- Prep and Chill:
Begin by ensuring your heavy cream is thoroughly chilled. For optimal results, place your mixing bowl (preferably glass or stainless steel) and your electric mixer's beaters (or stand mixer's whisk attachment) in the refrigerator or freezer for 15-20 minutes. This critical step significantly aids in achieving a stable, airy whipped cream.
- Combine Ingredients:
Once your bowl and beaters are chilled, pour the cold heavy cream into the mixing bowl. Add the granulated sugar (or confectioners' sugar) and pure vanilla extract. Don't worry about mixing them just yet.
- Whip It Up (The Art of Peaks):
Attach the chilled beaters to your electric mixer. Start on a low speed to prevent splashing, gradually increasing to medium-high or high speed. Keep the mixer moving around the bowl to incorporate air evenly. As you whip, you'll observe distinct stages:
- Soft Peaks: After about 2-3 minutes, the cream will start to thicken, and when you lift the beaters, the cream will form soft, droopy peaks that barely hold their shape. This is ideal for a gentle topping on fruit or hot chocolate.
- Medium Peaks: Continue whipping for another minute or so. The cream will become noticeably thicker, and peaks will hold their shape better but still curl slightly at the tips when the beaters are lifted. This is a versatile consistency, great for dolloping or spreading.
- Stiff Peaks: This is often the desired stage for piping or when you need the whipped cream to hold its shape firmly. When you lift the beaters, the peaks will stand straight up and retain their form perfectly. The cream will look smooth and voluminous.
Crucial Tip: Prevent Over-Whipping! This is where most beginners go wrong. Once you reach stiff peaks, stop whipping immediately. Whipping beyond this point will cause the cream to separate, becoming grainy and eventually turning into butter. Watch closely, especially as you approach the stiff peak stage, and err on the side of under-whipping slightly rather than over-whipping.
Your homemade whipped cream is now ready to transform any dessert! Serve it immediately for the freshest taste and best texture.
Beyond the Basics: Advanced Tips for Whipped Cream Mastery
While the basic recipe is simple, a few extra insights can elevate your whipped cream game from good to absolutely glorious. Mastering these tips ensures your whipped cream is perfect for every occasion, from a casual dessert to an elaborate celebration.
- Stabilizing Whipped Cream for Longer Lasting Freshness:
If you need your whipped cream to hold its shape for several hours, for piping intricate designs, or in warm environments, consider stabilizing it. While powdered sugar offers some stabilization due to its cornstarch content, you can take it further:
- Unflavored Gelatin: Dissolve 1 teaspoon of unflavored gelatin in 2 tablespoons of cold water, then gently heat until fully dissolved (do not boil). Let it cool slightly, then slowly stream it into your cream as it's whipping, just after it starts to thicken.
- Cornstarch or Cream of Tartar: A small amount (1 teaspoon per cup of cream) added with the sugar can also provide extra stability, especially if you're using granulated sugar.
Stabilized whipped cream can hold its structure for up to 2-3 days in the refrigerator without significant deflation.
- Explore Flavor Variations:
Don't stop at vanilla! Homemade whipped cream is a blank canvas for creativity:
- Citrus Zest: Add finely grated lemon, orange, or lime zest for a bright, refreshing flavor.
- Spices: A pinch of cinnamon, nutmeg, or cardamom can add warmth, especially for fall and winter desserts.
- Liqueurs: A tablespoon of Grand Marnier, Kahlúa, rum, or amaretto can infuse sophisticated notes.
- Cocoa Powder: Sift in a tablespoon or two of unsweetened cocoa powder with the sugar for a rich chocolate whipped cream.
- Coffee Extract: A few drops can perfectly complement coffee-flavored desserts.
- Making Ahead and Storage:
While best served fresh, homemade whipped cream can be made 1-2 hours in advance and stored in an airtight container in the refrigerator. If it deflates slightly, you can gently re-whip it by hand or with an electric mixer on low speed for a few seconds until it regains its desired consistency. Stabilized whipped cream will last even longer, typically up to 2-3 days.
- Troubleshooting Common Issues:
- Too Runny: Likely wasn't cold enough, didn't have enough fat content (not heavy cream), or wasn't whipped long enough. Chill everything thoroughly and try again.
- Too Stiff/Grainy: You've over-whipped it! Unfortunately, once it separates into butter, there's no turning back. Your best bet is to start a new batch.
Conclusion
Mastering how to make whipped cream is more than just learning a recipe; it's about unlocking a simple pleasure that elevates countless desserts. With just three basic ingredients – heavy cream, sugar, and vanilla – and a few minutes of your time, you can create a luxurious, cloud-like topping that is far superior in taste, texture, and purity to any store-bought alternative. From the perfect soft peaks to the crisp stiff peaks, you now have the knowledge and confidence to whip up perfection every single time. So, grab your mixer, chill your bowl, and prepare to transform your desserts from ordinary to absolutely extraordinary with the magic of homemade whipped cream!
